Help Categories

Mobile app overview

Introduction

The mobile app is available on app stores with six main features:

  • Approvals of Orders & Invoices with Coding 
  • Full Order Creation 
  • Quick Order Creation
  • GRN / Receipting of Orders
  • Create an Invoice 
  • Create staff expenses 

The full order is an exact replica of the version on the web app – everything is there including any custom fields. The ‘Quick Order’ is designed for situations such as visiting trade counters where you might want to generate a PO number, provide it to the person at the counter and then take a photo of the paperwork and upload it into Zahara.

Enabling Access

Each mobile app user needs to have it enabled for them. You do this in their individual users settings, as shown below:

enabling users

Firstly enable the ‘Mobile app user’ and secondly decide whether they need the ‘Can create Quick Order’ functionality.

Downloading the App

As you would expect the mobile app is on both the Apple & Play stores. Search for Zahara. Alternatively, you can share these links:
https://play.google.com/store/apps/details?id=com.zahara.zahara
https://apps.apple.com/us/app/zahara/id1461451924?ls=1

Using the App

Log in to the mobile app using your registered email address and the password you use on the web app. Then click the menu icon and head to settings.
First off, set your default Business Unit and Division. This is used for raising orders so even if you are only using the mobile app for invoice approvals, it will still make for a better experience if you set your defaults.

Labels – You can choose any labels you prefer for the elements in Zahara as shown below. In the example below, the user will call Nominal Codes, GL Codes.

Zahara Screenshot


List Length

You can also choose how many documents you wish to show in your lists. The default is 50 but you can change this to a higher if required. The more you choose, the more data that has to be retrieved from the webserver.

Login Periods

You will be required to log in every 30 days to re-authenticate yourself. Once logged in, your 30-day security token should avoid you having to log in again for this fixed period. If you reset your password at all on the web app, you will need to re-authenticate yourself on the mobile app.

Quick Orders

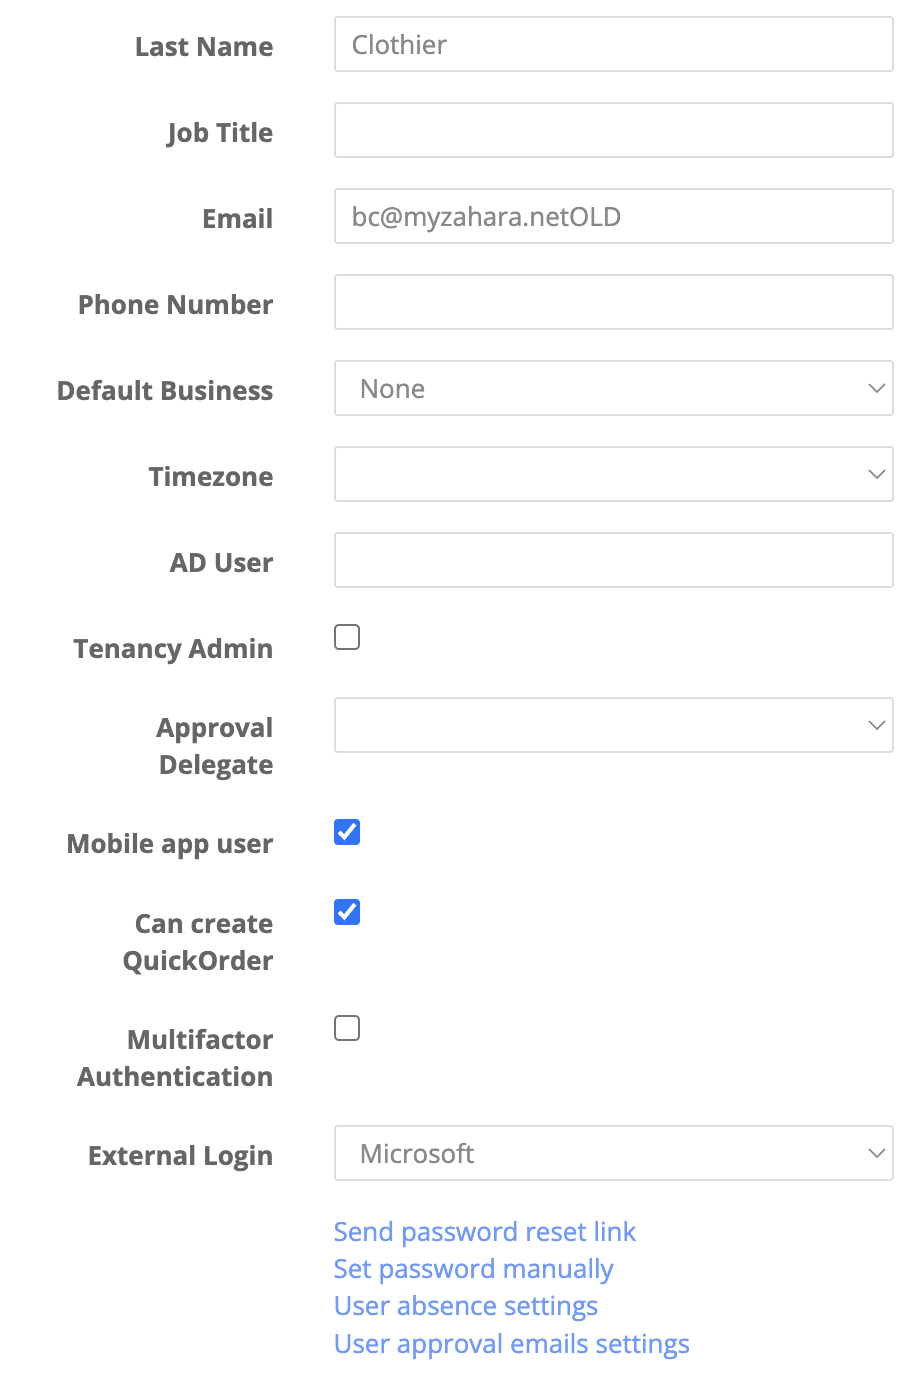
The ‘Quick Order’ is designed to fulfil a variety of use cases, for example trade counter purchases. ‘Quick Order’ works like this. 

The user completes the ‘details’ section as shown below, then presses ‘Get PO Number’. The project field is not compulsory.

This creates a draft PO in the web app. 

Zahara Screenshot

The user then taps ‘Snap Paperwork’ and can take a picture (or multiple pictures) of the paperwork – ie the collection note at the trade counter. It is only when a picture is uploaded that the order can then be created fully in Zahara.

Workflows
By design, the ‘Quick Order’ is set to respect the default workflow for the division the order is raised in. That could be a normal PO order workflow which includes the ‘send to supplier’ workflow step. The supplier won’t need a PO, and you may not need people to approve trade counter collections. So what can we do to make this efficient? 

One of the options is to create a division for ‘Quick Orders’ or ‘Mobile’. That way you can tailor the workflow specifically. However, this might not work well for full orders. It could be that you use a custom field for this division – the newly created ‘Mobile’ division – and have one of the values set to ‘PO’. You could then use that in a workflow for full orders. So when someone raises a full order, they set the new ‘Type’ custom field to PO and that then triggers an approval.

Restricted Supplier List
Because the quick order allows minimal form filling, the supplier list is restricted to only those suppliers that have a default tax rate set. If you are in a non VAT/GST area, please set a tax rate of Zero % to overcome this. For VAT/GST areas, set the most likely tax rate for each particular supplier.

Full Order

The full order gives you the full list of fields you would get in the web app, including any custom fields. Once you have filled the fields on the ‘details’ page, tap ‘Line Items’ at the bottom.
Now, press ‘Add Line Item’

Populate your line item, pressing ‘Add Item’ at the bottom.
You will see the first line item listed. 

You can edit this line-item, add another one or move on to the final section.
To edit a line item, swipe to the left – you will see ‘Edit’ and ‘Delete’.

Receipting Orders - GRN

To receipt an order, slide the order to the left in the list view as shown below.
Zahara Screenshot

Tap “Receipt It”
The line items from the order will appear.
You can now filter down on any lines or adjust any quantities.
You can take a photograph of any paperwork – perhaps a delivery note  – and attach this to the order history. 

When complete, click ‘Next’ and add any comments.

Then click The Save GRN button at the bottom.

Approvals

To get to approvals in the app, click the menu bars in the top right and click Approvals. You should then see the following screen. 


Zahara Screen shot


You can switch between Orders and Invoice and you can switch business units using the drop down.
You can filter on orders and invoices by clicking the Search icon to reveal the filter box.

We have designed the approvals so you can touch to see more – progressive reveal. You can approve from the list view – swipe left or right – or click into each document to see more.

Screen shot


For each document, you can:

  • Click into view the line items.
  • See the budget – Purchase Order.
  • See the Order details – when in an invoice that matches with an order.
  • See the history of the document.
  • Code an order or invoice is allowed or made to.

You can navigate using the arrow top left as well to get you back when further into a document


screen shot


Clicking the menu in the top right of the app will allow you to access other functions of the app. 

Batch Approvals 
You can also batch approve orders or invoices. Long press on an approval to reveal check boxes. You can select multiple documents and then click approve or reject at the bottom of the screen.

lifering
Still can't find an answer?