


Business Unit Category
Add an email signature
Coding Restrictions
Create new Business Unit
Custom Fields on Line Items
Customised labels
Date formating
Default delivery address
Division Management
Editing Email Templates
How to hide cost codes
Invoice email forwarding – Microsoft 365
Pros and Cons of Using Zahara’s Inbuilt Email Service vs. Your Own SMTP
SMTP & Email Sending
T&C on your PO Template
Invoice Processing Help Category
Auto reject supplier invoices
Auto rejecting of invoices issue
Finding an order or invoice
How to create a credit note
Invoice email forwarding – Microsoft 365
Invoice export colours
Invoice Inbox
Invoice List View
Invoice matching
Invoice Processing Explained
Month end cut offs
Negative Order Balance
Setting up Autopilot
Supplier Matching
Waiting for a GRN
Purchase Orders Category
Adding a product to an order
Adding documents to an order
Bulk importing orders
Close Orders Automatically
Closing an order
Copy PO to Buyer
Creating a Purchase Order
Deleting a PO
Duplicate Order Prevention
Editing an order
Finding an order or invoice
GRN an Order – Learn with this Guide
Grouped Purchase Orders
Import Line Items
Negative Order Balance
PO Template Editing
Product Centric Buying
Purchase Order Numbering
Purchase Order PDF
Purchase Order Prefix
Purchase Requisition Number
Quick Create a Purchase Order
Send PO to Supplier
Supplier order acceptance
What is a Purchase Order?
You can bulk import orders from a CSV file. Go to the Documents > Purchases pages and select import from the New Purchase Order button. Now download the CSV template.
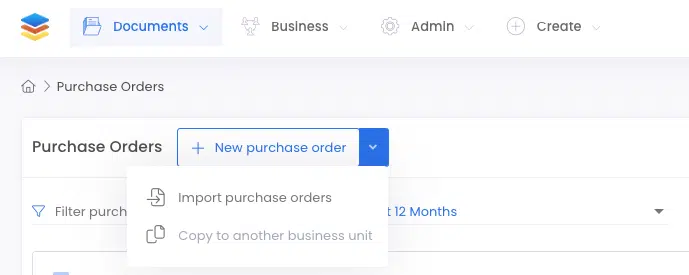
>
Then download the template from this screen:
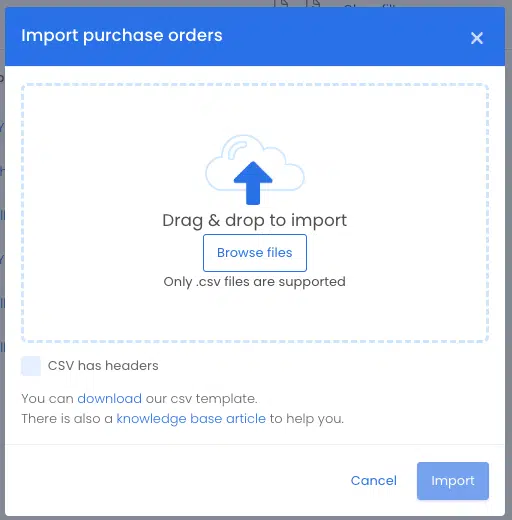
The process is straight forward, provided you know how to populate the order CSV file. A copy is shown below.
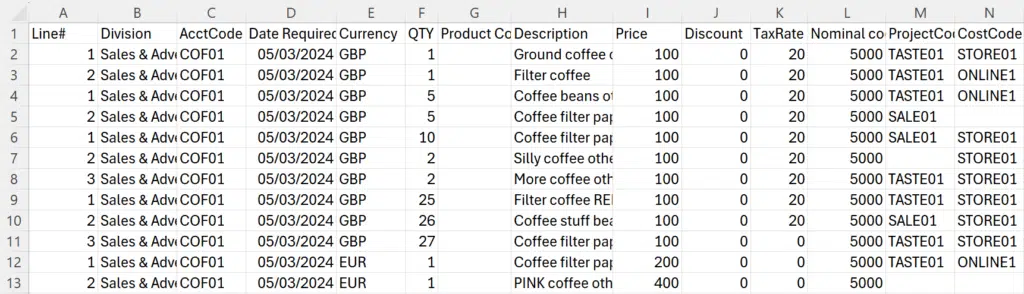
Line# – Each line in your order needs to be numbered. This field also acts as the break field for a new order. In the example above, this will create a 5 line order to Canon and a 3 line order to Adobe.
Division – Enter the name of the Division exactly as it is in Zahara.
AcctCode – This is the supplier/vendor reference field in your supplier record – not the supplier name.
Date Required – Populate this in the same format as your Business Settings ie Euro, US or ISO.
Currency – The 3 letter ISO currency codes if you aren’t sure. GBP/USD/EUR are the common ones.
Second Ref – This will show if the second ref field is enabled
QTY – Line item quantity.
Product Code – Any product code.
Description – Line item description.
Price – Unit price.
Discount – Any percentage discount without the % sign i.e, just 20 for 20% discount. Put 0 for zero discount. Do not leave blank.
TaxRate – Just the tax % rate without the % sign.
Nominal Code – Just the code – not the description.
Project Code – Just the code – not the name or description.
Cost Code – Just the code – not the description.
Once your order CSV file looks like the one above, try importing it. You will get feedback if there are any errors. If successful, the orders will be created.
The default delivery address under your business settings will be applied as the delivery address.
If preferred you can have all orders imported as Draft orders. In Business Settings > Purchase Orders, there is a setting to enable this.

Otherwise, all orders will be created and sent into their default workflow
